How going solar works, from first quote to switching it on
The crew is on your roof for a day or two. The other two or three months go on quotes, paperwork, permits and waiting for your utility. Here is every step, who does it, how long it usually takes, and the one thing to watch at each.
The typical timeline
Typical ranges for a U.S. home (up to 25 weeks end to end). Permits and utility approval vary most by place.

Plan before anyone visits
Gather twelve months of electricity bills, find out how your utility credits exported solar, and run your address through a planner so you know roughly what size and price to expect.
- Add up 12 months of kWh from your bills
- Look up your utility’s solar (net metering) tariff
- Build your plan on Solar Plan Builder and save the link
Get quotes and a site visit
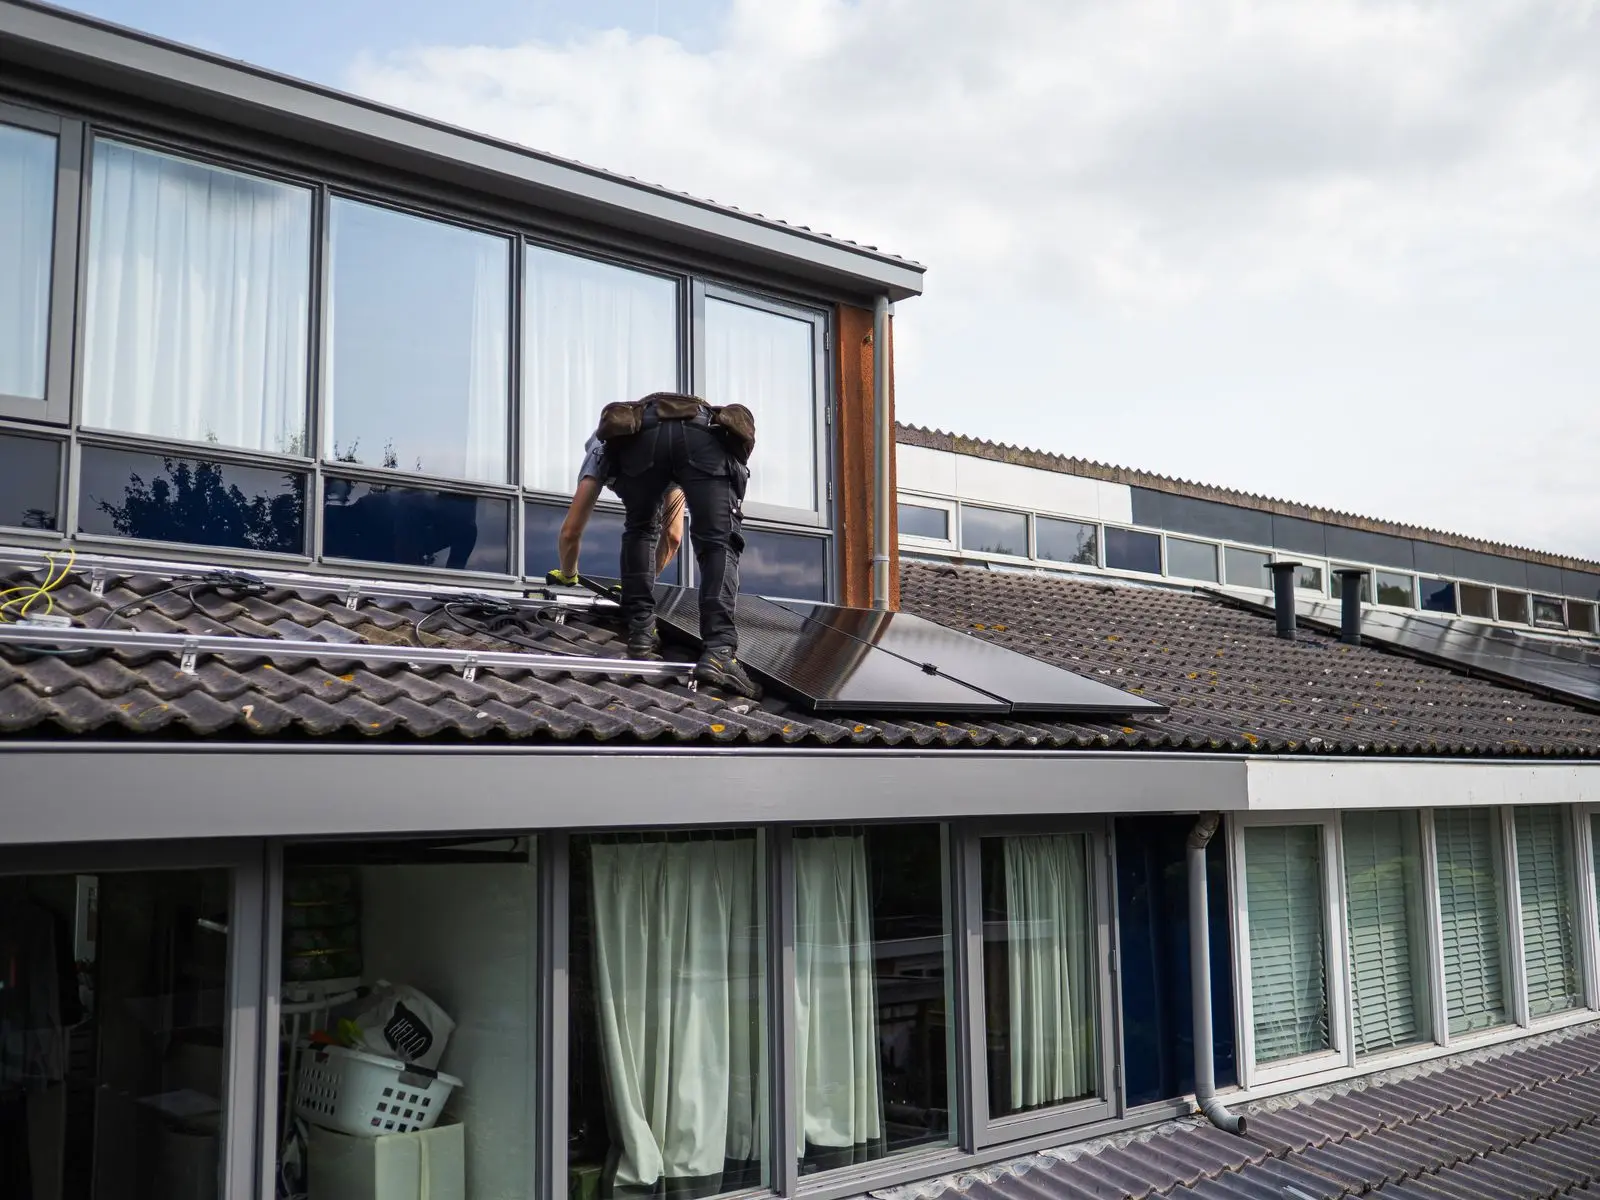
Ask three or more installers for written quotes. A proper quote follows a look at the roof, the attic and the electrical panel, either in person or with detailed aerial imagery.
- Request at least three written quotes
- Show them where your electrical panel is
- Ask each for price, kW, first-year kWh, equipment and warranties

Compare, choose and finance
Put the quotes side by side on price per watt and production per kW. Decide between cash, a loan, a lease or a PPA, and get a cash price from everyone even if you plan to borrow.
- Run each quote through the quote check
- Compare $/W before incentives
- For loans, ask for the dealer fee in writing

Sign the contract
The contract should list the equipment by model, the system size, the price, the payment schedule, the warranties and who handles permits. If you sign at home, the FTC Cooling-Off Rule gives you three business days to cancel.
- Check models and system size match the quote
- Check the payment schedule (small deposit, most on completion)
- Keep a copy of the cancellation notice
Final design and engineering
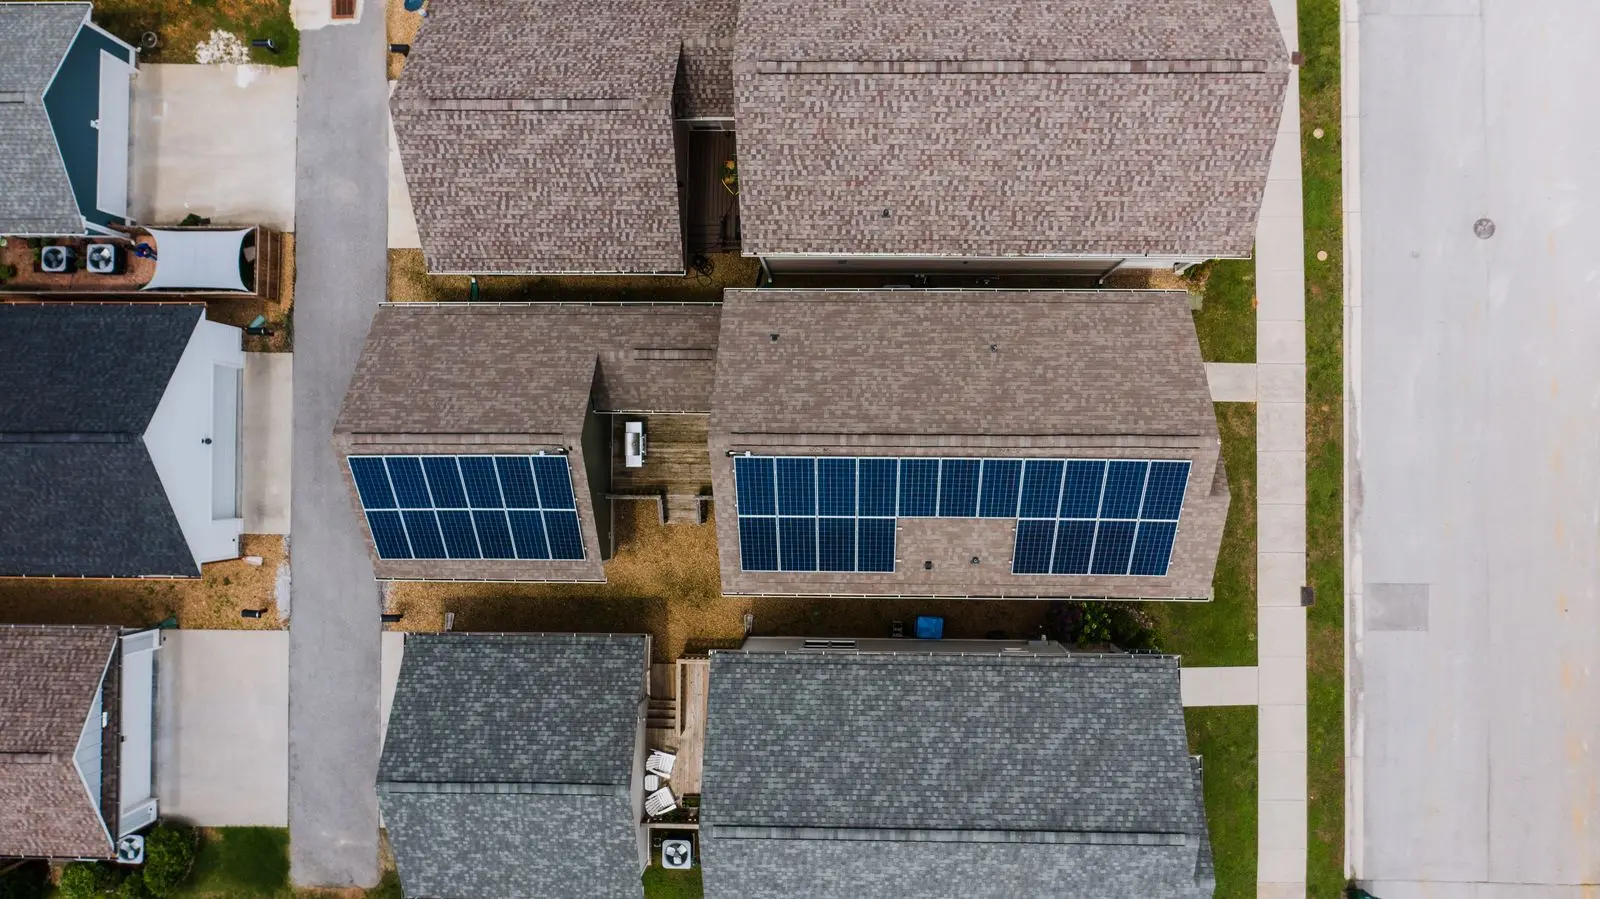
The installer measures precisely, checks the roof can carry the weight, draws the wiring diagram and finalises the panel layout. Expect a few panels to move from the sales design.
- Approve the final layout
- Ask about any change in system size or price
Permits and utility approval
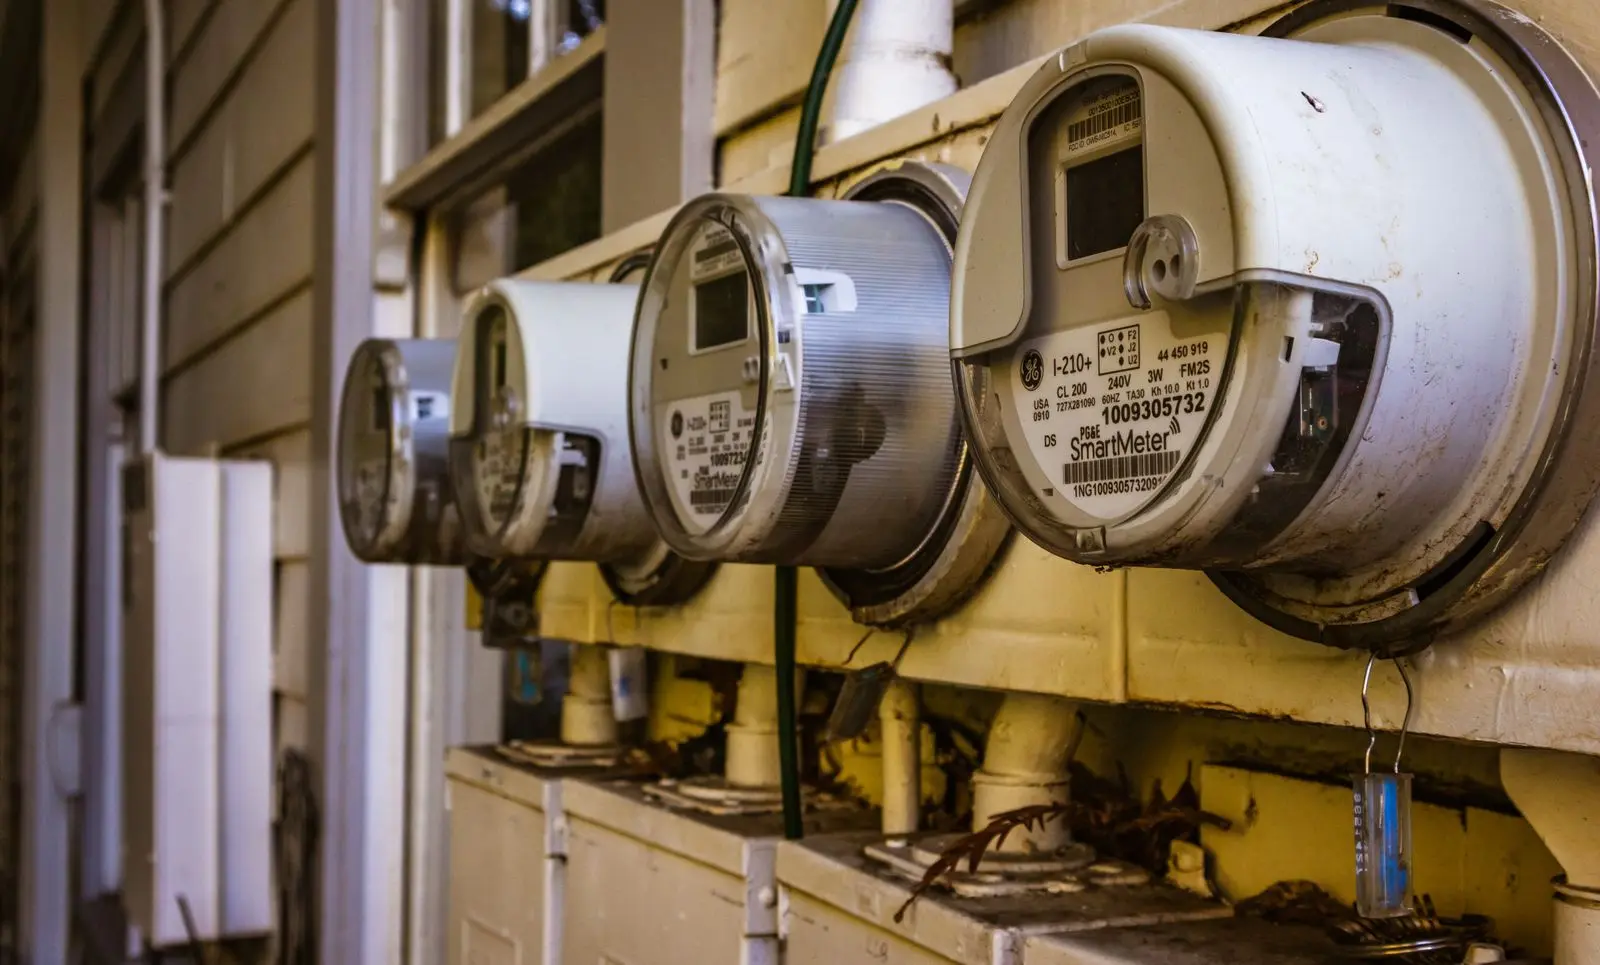
The installer applies for a building permit from your city or county and an interconnection agreement from your utility. Some cities now approve standard systems online the same day; others take weeks. An HOA may also need to sign off.
- Sign utility interconnection forms
- Submit HOA paperwork if needed

Installation day
A crew mounts racking to the rafters, lays the panels, runs wiring to the inverter and your electrical panel, and installs any battery. Most homes are done in one to three days.
- Clear the driveway and give access to the electrical panel
- Expect the power to be off for a few hours

Inspection
A building inspector checks the wiring, the attachments and the fire-code clearances. If anything fails, the installer fixes it and the inspector comes back.
- Be home or leave access if the inspector needs it
Permission to operate
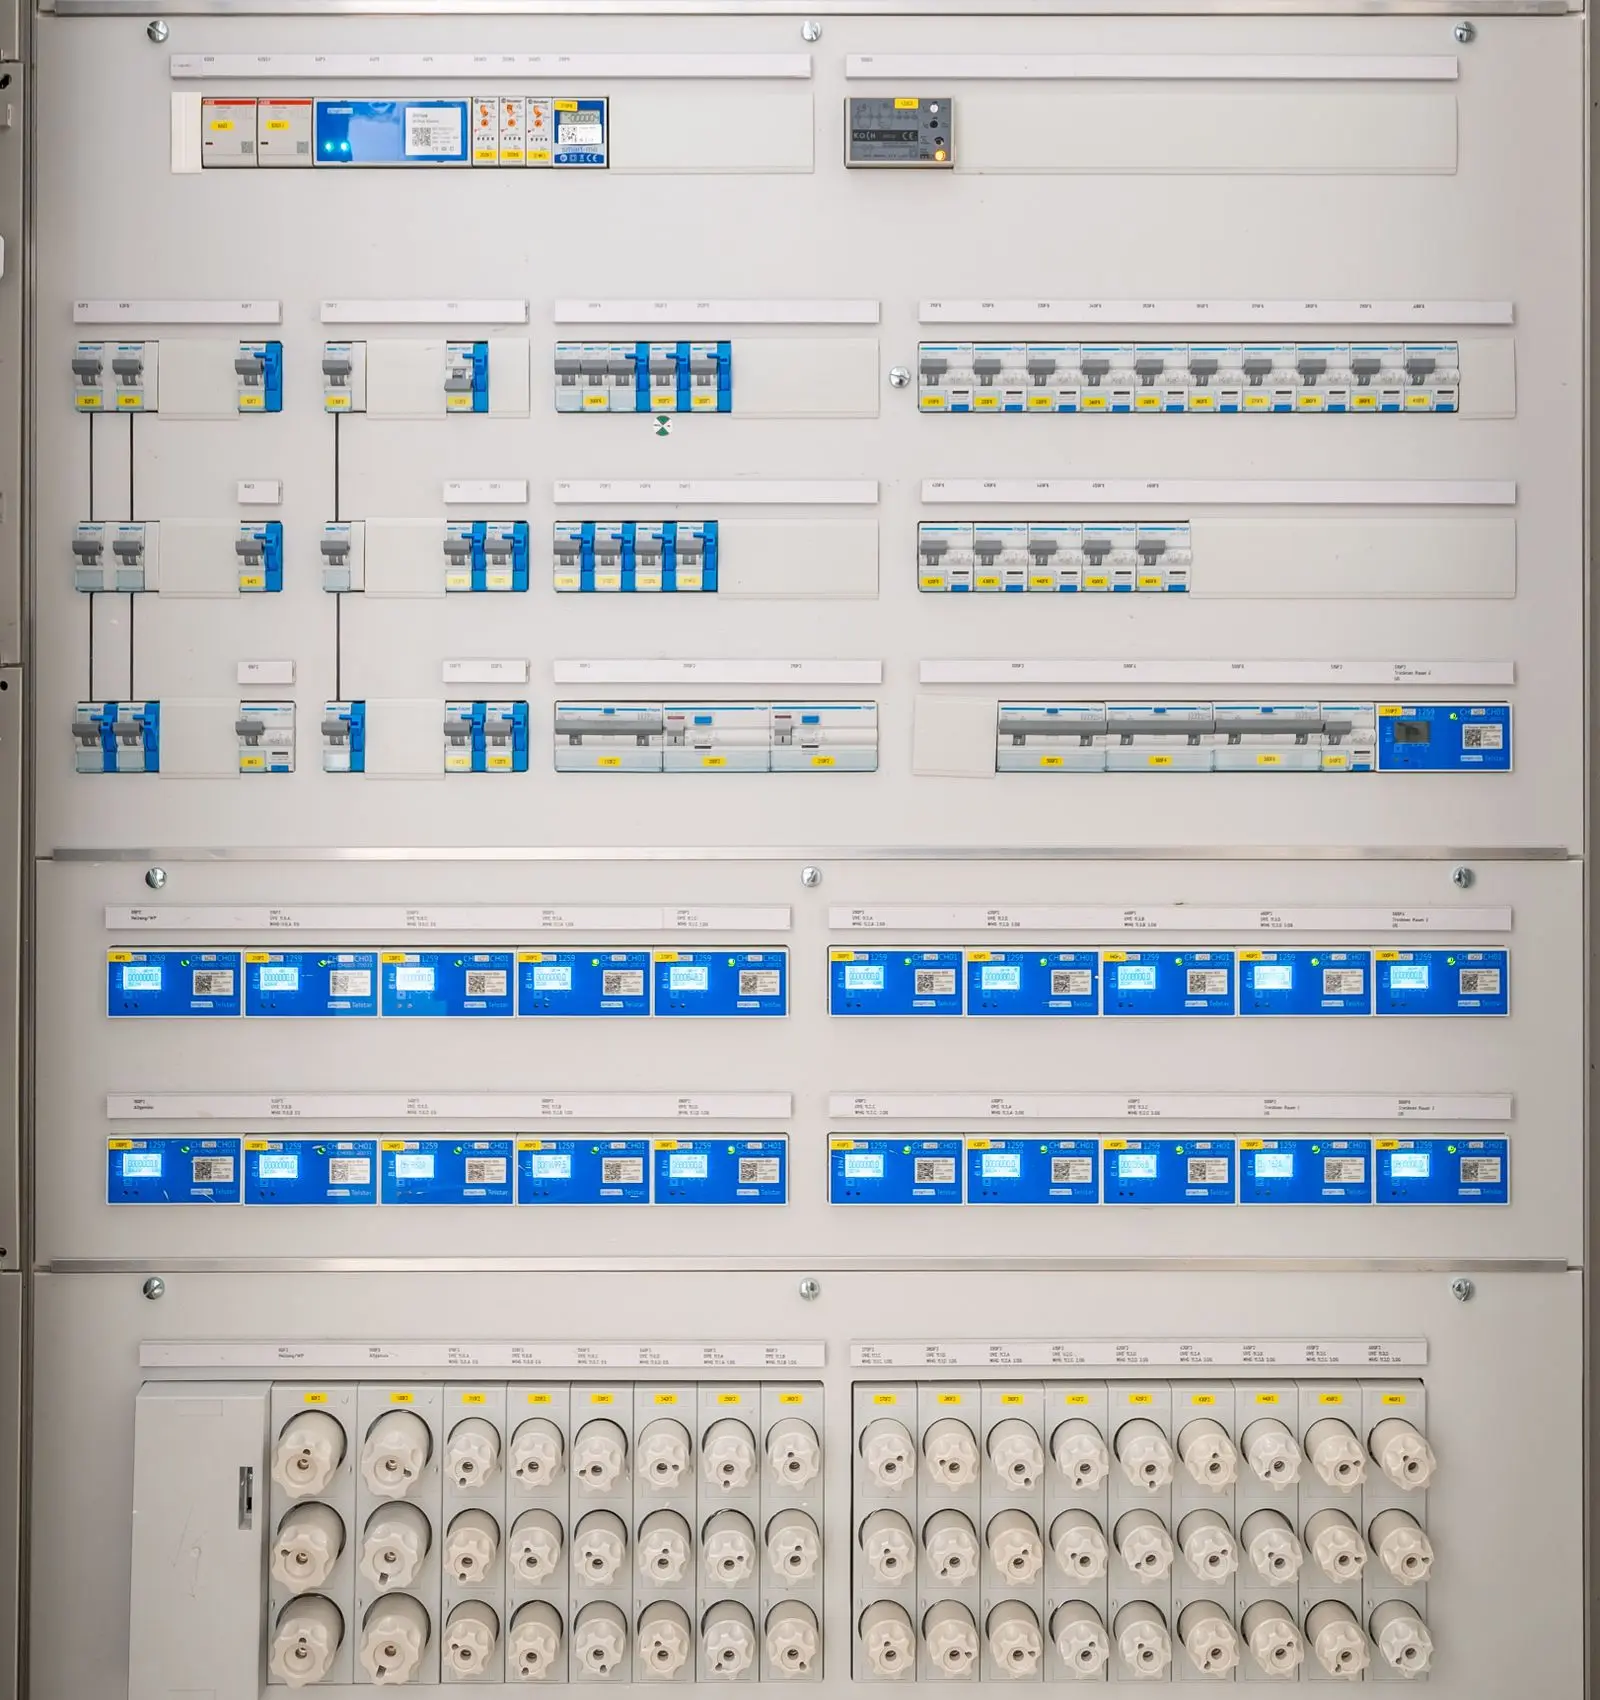
After the inspection passes, your utility reviews the paperwork, may swap your meter for one that measures both directions, and issues permission to operate (PTO).
- Wait for written PTO before switching on
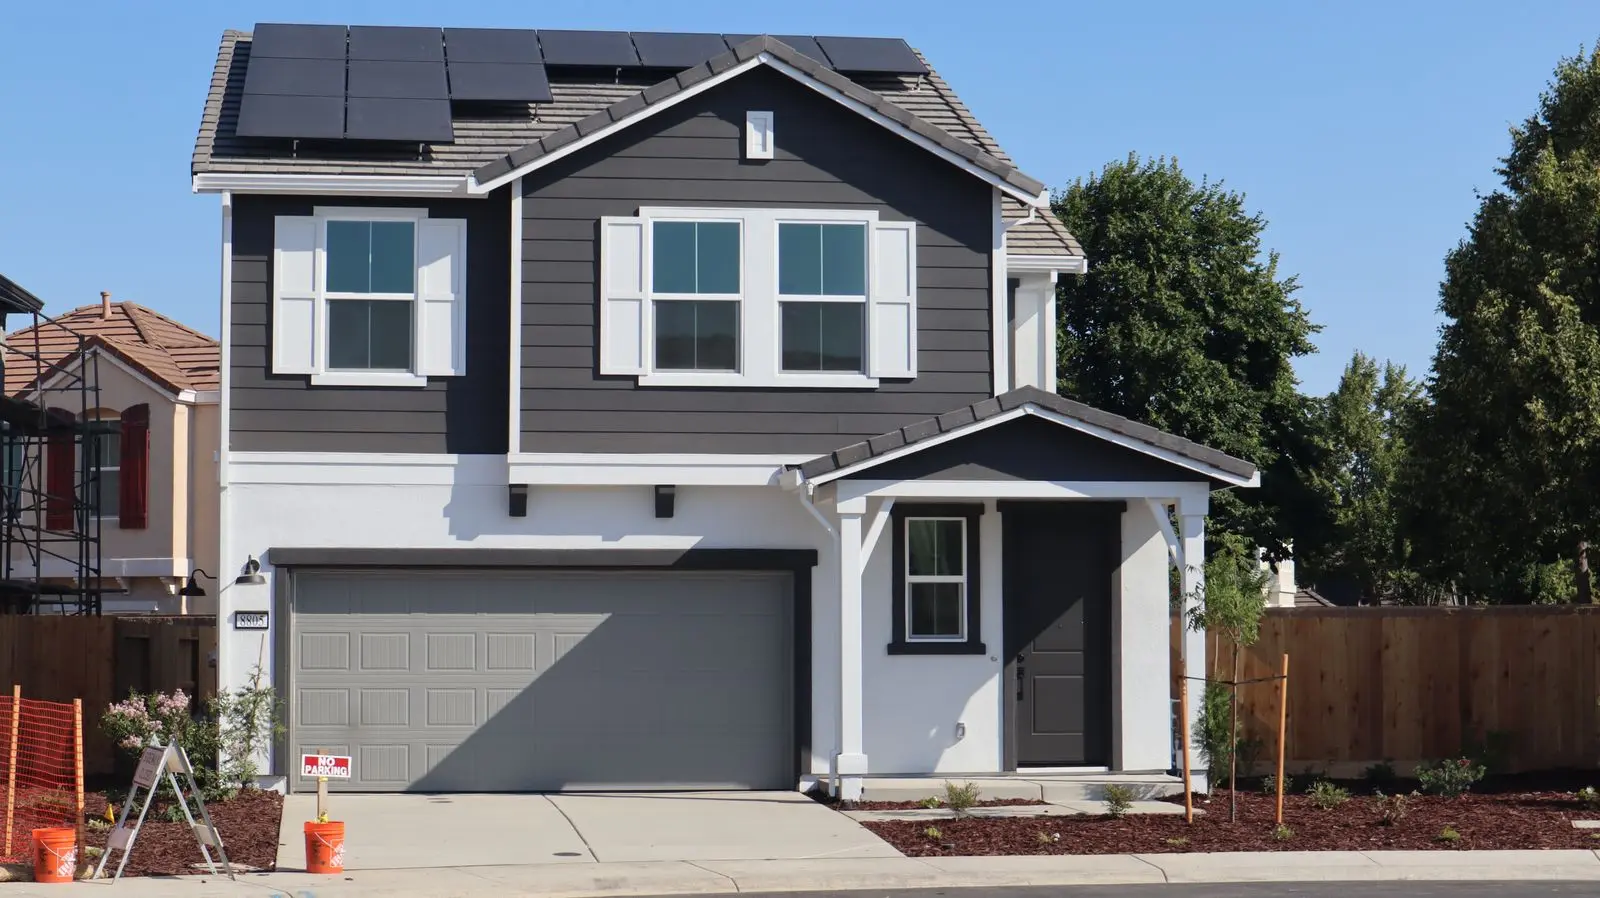
Switch on and keep an eye on it
Set up the monitoring app, file your warranties and compare the first year with the estimate. Real years vary 5–10% with the weather; a bigger shortfall is worth raising while the workmanship warranty is fresh.
- Set up monitoring and check it monthly
- File warranties, permits and PTO letter together
- Compare year one with the estimate
Want the detail behind each step?
The guide to going solar explains costs, export rules, batteries, loans and leases, and how to compare quotes, in ten short chapters.
How to go solar without being sold to
10 short chapters in the order you will face each decision, plus a 34-box checklist that prints on two pages.